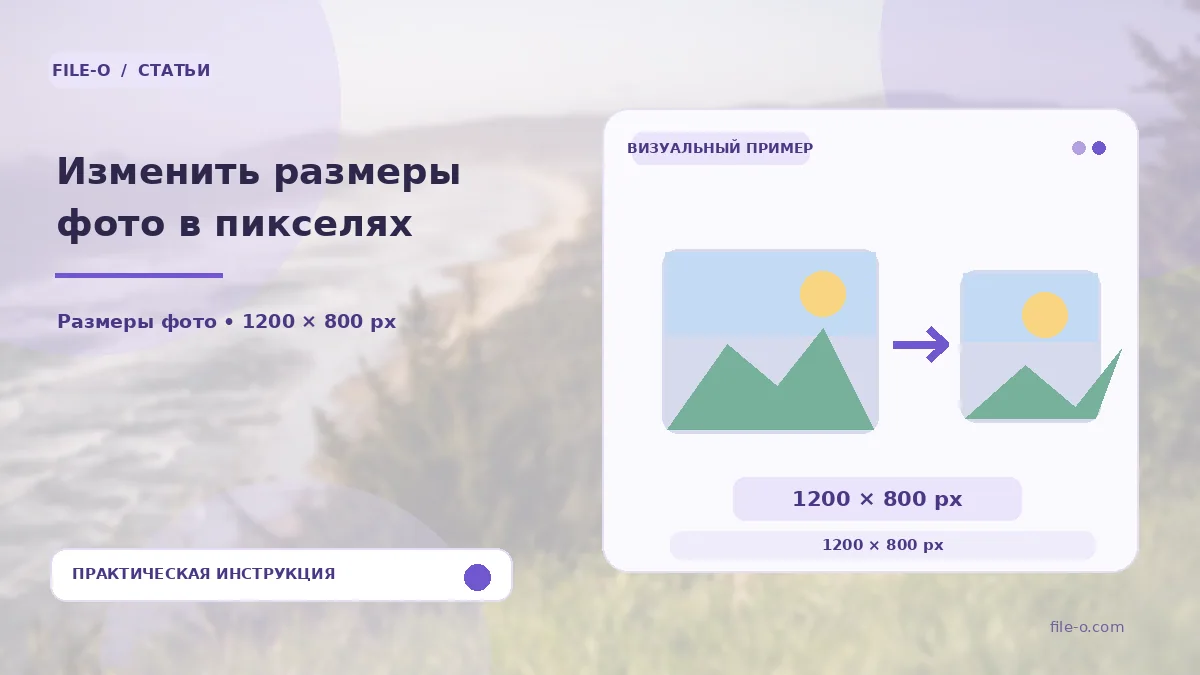
The tool changes the geometric dimensions of one or more images in pixels. You set the target width and height, and choose a scaling strategy: fit the image into the new frame without cropping, or crop the edges to exactly fill the specified proportions. The result can be assessed in a preview before saving.
When this is useful
You are preparing product cards for an online store where all gallery photos must be exactly 800 by 600 pixels. You upload a folder with shots of various sizes and bring them to a uniform dimension in one operation. Another case: a pass system requires a photo of exactly 300 by 400 pixels, but your selfie has unsuitable proportions, and you use cropping to the specified dimensions.
Step-by-step instructions
- Drag and drop one or more images into the upload area or select them via the file manager.
- In the settings fields, enter the desired width and height values in pixels.
- Choose the processing method, for example, 'Fit' to preserve the entire frame or 'Crop' to remove protruding parts.
- Start the processing and examine the preview to ensure the result is correct before downloading.
How to verify the result
If important information in the image was cropped after processing, try switching the scaling method to 'Fit' to keep the entire original frame, even with empty margins. Ensure you are not trying to significantly enlarge a small icon to poster size, as this will lead to severe pixelation and blurriness. Check that all files in the batch were processed successfully by looking at the status indicators.
Important limitations
The tool works with pixel dimensions and does not change the physical print resolution in DPI. When choosing the 'Crop' method, the image will be centered, and the edges will be symmetrically removed to achieve the exact proportions. Enlarging a small source file will not restore missing details and will result in visually low image quality.